Estimated reading time: 1 minute
If your website has been hacked and turned into a phishing page, the damage can spread fast.
Visitors may see browser warnings. Customers may stop trusting your brand. Search visibility may drop. In some cases, your site may start collecting complaints before you even realize what happened.
That is why people search for how to remove phishing from my website as soon as the warning appears.
The good news is that phishing can be removed. However, deleting one fake page is not enough. You need to find the full compromise, clean the site properly, fix the entry point, secure the environment, and request review so browser and search warnings can be lifted.
This guide explains the full process in a simpler, WordPress-friendly format. It covers how to confirm phishing, contain the threat, remove fake pages, secure your website, request review, and rebuild trust. If the incident has already affected your public image, Remove Online Information also offers content removal and reputation repair solutions for the public side of the damage.
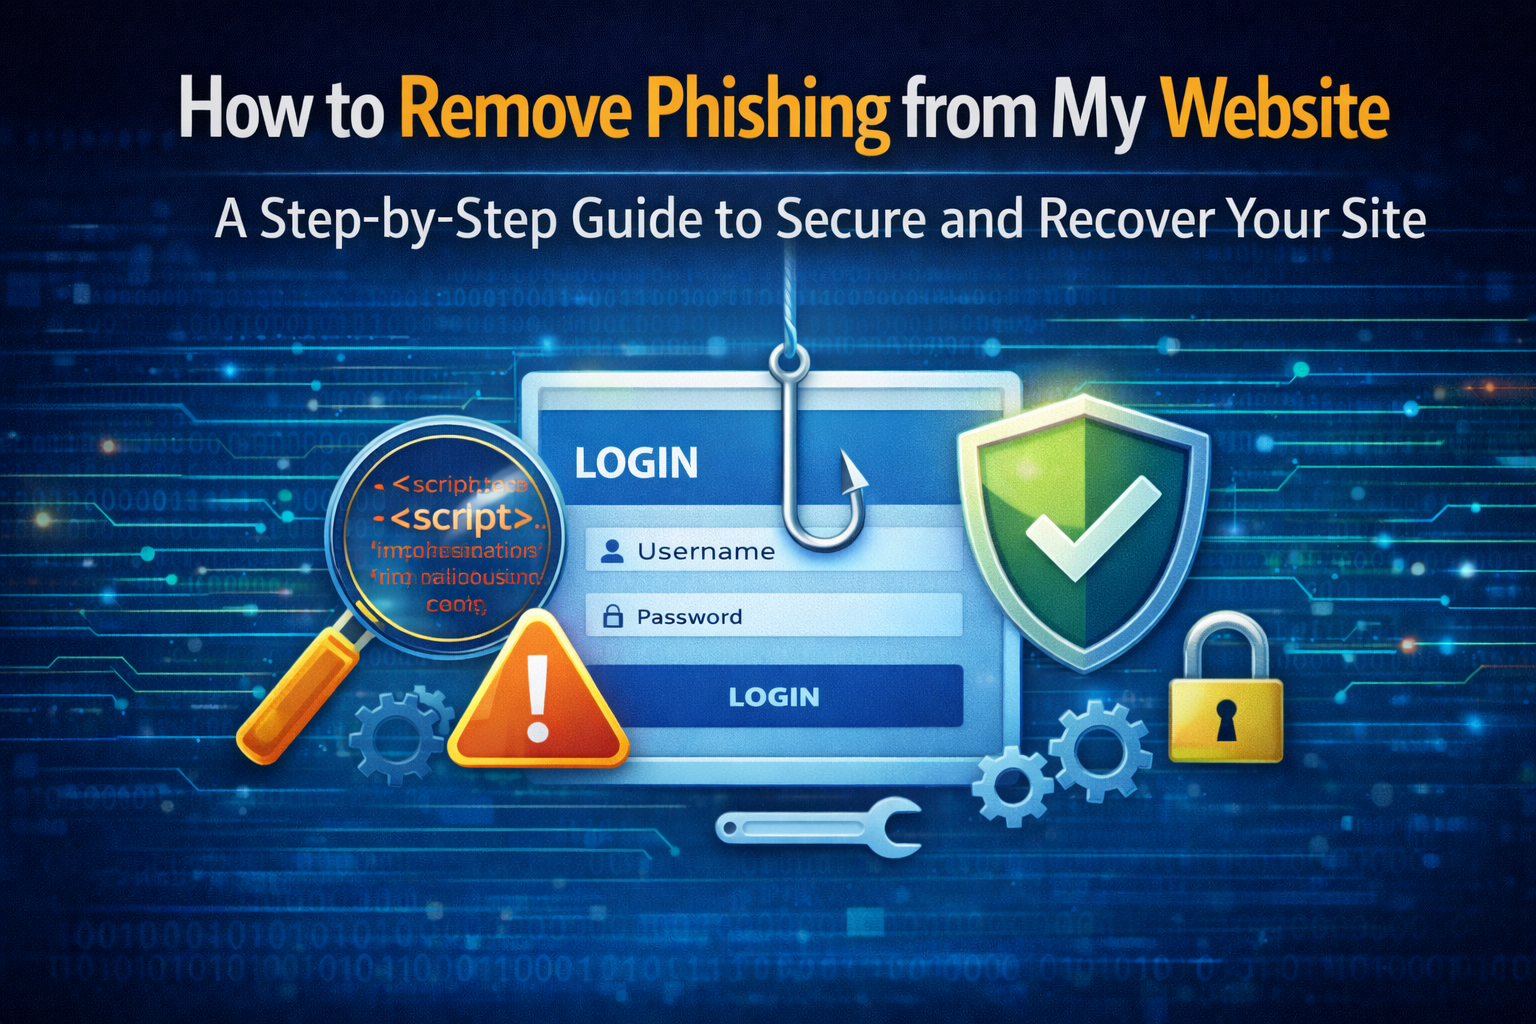
What phishing on a website usually looks like
Phishing on a hacked site does not always look obvious.
Attackers often create fake pages that imitate trusted login screens, payment forms, email portals, account verification pages, or even your own website’s login area. These pages are designed to trick users into giving away passwords, personal details, or payment information.
Common signs of phishing on a website
You may notice:
- Fake login pages you never created
- Strange folders or URLs
- Unknown PHP or HTML files
- Redirects to suspicious pages
- Browser warnings like Deceptive site ahead
- Google Search Console security alerts
- Traffic going to pages you do not recognize
- Customer complaints about suspicious pages
Sometimes these phishing pages are hidden from regular visitors. They may only appear to certain users, search engines, or visitors from specific countries. That makes them easy to miss.
Why phishing is so damaging
A phishing attack creates more than a security problem.
It also becomes a trust problem.
A phishing incident can hurt:
- User safety
- Sales
- Lead generation
- Search visibility
- Brand trust
- Customer support workload
- Public reputation
If a browser warning appears, many users leave immediately. Even after the phishing page is removed, some people may still remember the warning or find negative mentions in search results.
That is why phishing recovery often needs both technical cleanup and reputation cleanup.
Step 1: Confirm the phishing problem
Before you delete anything, make sure you understand what is happening.
Check Google Search Console
Start with the Security Issues report in Google Search Console.
If Google has detected phishing, hacked content, or harmful behavior, this report is often the first place it appears.
Look for warnings related to:
- Social engineering
- Phishing
- Hacked content
- Harmful pages
Check browser warnings
Open the affected page carefully in Chrome.
If Chrome shows warnings such as:
- Deceptive site ahead
- Dangerous site
- This site may be hacked
then your site may already be flagged publicly.
Search your site externally
Use Google search operators to look for suspicious content:
site:yourdomain.com login
site:yourdomain.com verify
site:yourdomain.com update payment
site:yourdomain.com secure
site:yourdomain.com bank
You can also search for random-looking folder names, suspicious brands, or keywords tied to phishing pages.
Review your logs
Look for:
- New file uploads
- Strange POST requests
- Unknown admin logins
- Changes to core files
- Traffic spikes to odd URLs
- Outbound calls to suspicious domains
This helps you understand how large the compromise is.
Step 2: Contain the threat fast
Your first priority is to protect users.
If your site is actively serving phishing pages, contain the damage before you continue.
Immediate containment steps
Depending on the situation, you may need to:
- Put the site in maintenance mode
- Disable affected sections
- Remove public access to infected pages
- Disable compromised plugins or themes
- Pause risky third-party scripts
- Revoke suspicious admin access
- Freeze changes until the investigation is complete
If your website handles logins, payments, or customer accounts, containment is even more urgent.
Protect users first. Investigate second. Restore normal operations only after the site is truly clean.
Step 3: Save evidence before cleanup
It is tempting to start deleting files right away. However, save enough information first so you can investigate properly.
Capture these items
- Search Console screenshots
- Browser warning screenshots
- List of suspicious URLs
- Server logs
- Recent file changes
- Admin user list
- Plugin and theme list
- Backup timestamps
This record can help with:
- Technical investigation
- Internal reporting
- Future monitoring
- Insurance or legal questions
- Comparing later reinfections
Step 4: Find the entry point
A phishing page rarely appears without a deeper weakness behind it.
Attackers usually get in through one of these paths:
- Outdated CMS core
- Vulnerable plugin
- Vulnerable theme
- Weak password
- Stolen credentials
- Exposed admin panel
- Bad file permissions
- Unsafe hosting setup
- Compromised local device used by an admin
If you remove the fake page but leave the original weakness open, the phishing content can return.
Areas to inspect closely
Check:
- Core CMS files
- Plugin folders
- Theme files
- Upload directories
- Database tables
.htaccess- Cron jobs
- Admin accounts
- API keys and tokens
This is one of the most important steps. Without it, cleanup is incomplete.
Step 5: Remove phishing pages and malicious code
Now you can begin cleaning the site.
Remove or repair these items
Delete or fix:
- Fake login pages
- Fraudulent payment forms
- Malicious redirects
- Suspicious JavaScript
- Hidden iframes
- Unknown PHP files
- Backdoors
- Database entries creating phishing content
- Scheduled tasks tied to the attack
Common hiding places
Attackers often hide phishing files in:
- Upload folders
- Theme header or footer files
- Plugin directories
- Database options tables
- Temporary directories
- Obfuscated include files
Safer cleanup workflow
A cleaner recovery flow usually looks like this:
- Identify suspicious files
- Restore trusted core files
- Replace infected themes or plugins
- Delete fake phishing pages
- Compare changes against known-good backups
- Scan again after cleanup
If you have a clean backup from before the attack, it may help. However, do not restore blindly unless you also know what caused the compromise.
Step 6: Reset passwords and access
If attackers got in once, assume they may have exposed credentials.
Reset these immediately
- WordPress admin passwords
- Hosting account passwords
- Database passwords
- FTP/SFTP passwords
- SSH access if used
- CDN credentials
- Email accounts tied to site recovery
- Third-party integration tokens
Also do this
- Remove unknown admin users
- Review every privileged account
- Disable unused accounts
- Enable multi-factor authentication
- Reduce admin access wherever possible
If you skip access control cleanup, the attacker may come back without needing to exploit the original vulnerability again.
Step 7: Update and harden the full website
A clean site is not a secure site unless you harden it afterward.
Core hardening steps
- Update CMS core
- Update all plugins
- Update all themes
- Remove unused plugins
- Remove abandoned themes
- Tighten file permissions
- Disable risky admin features if not needed
- Review hosting security settings
- Add a firewall if appropriate
- Enforce MFA for admins
Ongoing habits that reduce risk
- Use strong unique passwords
- Limit admin roles
- Monitor logs regularly
- Patch quickly
- Keep clean backups
- Reduce unnecessary third-party code
- Review file changes often
This is the difference between temporary cleanup and long-term recovery.
Step 8: Scan the site again before review
Do not request review too early.
If Google or Chrome still finds phishing anywhere on the site, the warning may remain.
Before review, verify:
- No phishing pages remain
- No fake forms remain
- No malicious redirects remain
- No suspicious scripts remain
- No dangerous browser warnings appear
- No hidden attacker files remain
- No vulnerable plugin or theme remains exposed
Check these areas again
- Search Console Security Issues
- Raw source code
- Database content
- Upload folders
- Browser testing in Chrome
- Site search queries
- Logs
- Mobile and desktop versions
One clean homepage does not mean the whole site is clean.
Step 9: Request Google review
Once the phishing content is gone and the vulnerability is fixed, request review through Search Console.
What to include in the review request
Be clear and specific.
Explain:
- What type of phishing content was found
- What files or pages were removed
- What caused the compromise
- What you changed to prevent reinfection
- Whether the full site was checked
Example review request
Issue identified:
Phishing pages and deceptive login content were injected through a vulnerable plugin.Actions taken:
- Removed all phishing pages and malicious files
- Deleted the vulnerable plugin
- Updated CMS core, plugins, and themes
- Reset all admin, hosting, and database credentials
- Enabled MFA for admin users
- Reviewed logs, database entries, and uploaded files
- Confirmed no phishing content remains on the sitePreventive steps:
- Reduced admin access
- Hardened file permissions
- Added monitoring
- Updated security response procedures
Avoid vague requests. Be direct and factual.
Step 10: Watch for reinfection
Some phishing cleanups fail because the site looks clean for a short time, then becomes infected again.
Monitor closely after cleanup
Watch for:
- New unknown files
- New fake pages
- Strange traffic spikes
- Fresh Search Console warnings
- Browser warnings returning
- New admin users
- Unexplained plugin or theme changes
Phishing recovery is not finished the moment the fake page disappears. The site must stay clean.
WordPress-specific phishing cleanup tips
Many website owners use WordPress, so it helps to have a WordPress-specific checklist.
WordPress areas to inspect
Check:
wp-content/uploadsfunctions.php- Header and footer files
- Must-use plugins
- Unknown admin accounts
- Option tables in the database
- Rewrite rules
- Page builder templates
- SEO plugin output
WordPress recovery checklist
- Update WordPress core
- Update all plugins and themes
- Delete unused plugins
- Delete inactive themes you do not need
- Reinstall trusted core files
- Review
.htaccess - Scan uploads for executable files
- Audit all admin users
- Change database credentials if needed
On WordPress sites, the attack often comes through plugins, weak access control, or vulnerable themes.
How phishing affects SEO and trust
Phishing hurts both visibility and credibility.
SEO and business damage can include
- Browser warning pages
- Lower click-through rates
- Search result trust issues
- Reduced conversions
- Customer panic
- Negative reviews or complaints
- Damaged branded search results
Even after the technical problem is fixed, the public impact may remain. Some users may still see warnings in old screenshots, complaint threads, or negative search listings.
If that happens, Remove Online Information can help with search-result cleanup, content removal, and online reputation repair.
How to prevent phishing from returning
The best long-term strategy is prevention.
Ongoing prevention checklist
- Turn on MFA for all admins
- Review plugins monthly
- Remove abandoned extensions
- Patch everything quickly
- Check Search Console often
- Keep off-site backups
- Audit new users
- Monitor file changes
- Limit admin access by role
- Train staff to spot phishing and credential theft
Shift your mindset
Do not ask only:
How do I delete the fake page?
Ask instead:
- How did the attacker get in?
- What made the phishing page possible?
- What access was too broad?
- What monitoring was missing?
- What could allow this to happen again?
That is what turns cleanup into real recovery.
FAQ: How to remove phishing from my website
Common signs include fake login pages, suspicious redirects, browser warnings, Search Console alerts, and strange URLs you never created.
No. You must also fix the vulnerability that allowed it to appear. Otherwise the site may be infected again.
Use the Security Issues report in Google Search Console after you finish cleaning and securing the site.
Common causes include outdated software, vulnerable plugins, weak passwords, compromised hosting access, or stolen credentials.
Yes. Reset admin, hosting, database, FTP, and related credentials immediately.
Then you may need reputation recovery in addition to technical cleanup.
If your website has been hit with phishing, quick action matters. Remove the phishing content, fix the root cause, secure the site, and verify recovery properly. And if the incident has already hurt how people see your business online, visit Remove Online Information to explore its solutions and reputation repair support.
Works Cited
Cybersecurity and Infrastructure Security Agency. “CISA, NSA, FBI, and MS-ISAC Publish Guide on Preventing Phishing Intrusions.” CISA, https://www.cisa.gov/news-events/news/cisa-nsa-fbi-ms-isac-publish-guide-preventing-phishing-intrusions. Accessed 21 Apr. 2026.
Cybersecurity and Infrastructure Security Agency. “Malware, Phishing, and Ransomware.” CISA, https://www.cisa.gov/topics/cyber-threats-and-advisories/malware-phishing-and-ransomware. Accessed 21 Apr. 2026.
Cybersecurity and Infrastructure Security Agency. “Phishing Guidance: Stopping the Attack Cycle at Phase One.” CISA, https://www.cisa.gov/resources-tools/resources/phishing-guidance-stopping-attack-cycle-phase-one. Accessed 21 Apr. 2026.
Google. “Security Issues Report.” Search Console Help, https://support.google.com/webmasters/answer/9044101. Accessed 21 Apr. 2026.